Decorate blank boxes to give customers an unforgettable unboxing experience without breaking the bank.
Some brands prefer having a minimalist aesthetic. For them, it's all about clean lines and letting their products shine! The use of plain boxes also allows small businesses to be more flexible with their packaging solutions.
In this post, we'll show how you can decorate blank boxes to give your customers an unforgettable unboxing experience without breaking the bank.
This article is your guide to turning those plain boxes and mailers into something special. With a few simple supplies and a dash of DIY spirit, you can create packaging that reflects your brand and keeps your budget happy.
Let's get started!
The Advantages of Using Blank Boxes
At PackM, we love seeing brands explore their creative side. We look forward to seeing all your artwork and printing them for you.
However, we also understand that custom packaging isn't necessarily for everyone. Some prefer the advantages of blank packaging materials.

Speed
Need to get your products out the door quickly? Custom boxes offer great branding options. However, they take longer to produce compared to blank boxes which we can ship right away.
You can simply order the boxes you need and get packing right away.
By choosing blank boxes, you can streamline your packaging workflow and ensure your products are shipped efficiently.
Affordability
Running a small business requires monitoring costs. While custom-printed boxes offer a sleeker presentation, they can be expensive.
Custom boxes require additional steps like design creation and printing. These add to the overall cost. Blank boxes skip these steps, resulting in a significantly lower price point per unit.
While you miss out on the branding opportunity of custom boxes, blank boxes offer a clean and professional presentation at a much more affordable price.
Compatibility
Unlike custom-printed boxes designed for a specific product, blank boxes offer ultimate flexibility. You can use the same box to ship a variety of items from your inventory, eliminating the need to order and store a multitude of different-sized boxes.
This reduces storage space requirements and simplifies your inventory management.
Gone are the days when you're stuck with a surplus of custom boxes. Since they're not printed with specific product information, you can use them for any item in your inventory, maximizing your resources and minimizing waste.
DIY Decoration Ideas
Just because you're using blank boxes doesn't mean your packaging has to be boring. Just the opposite — there are many ways to customize blank shipping and mailer boxes while keeping costs down.
Here are a couple of ideas on how you can customize your blank boxes for better presentation.
Low-Effort Techniques
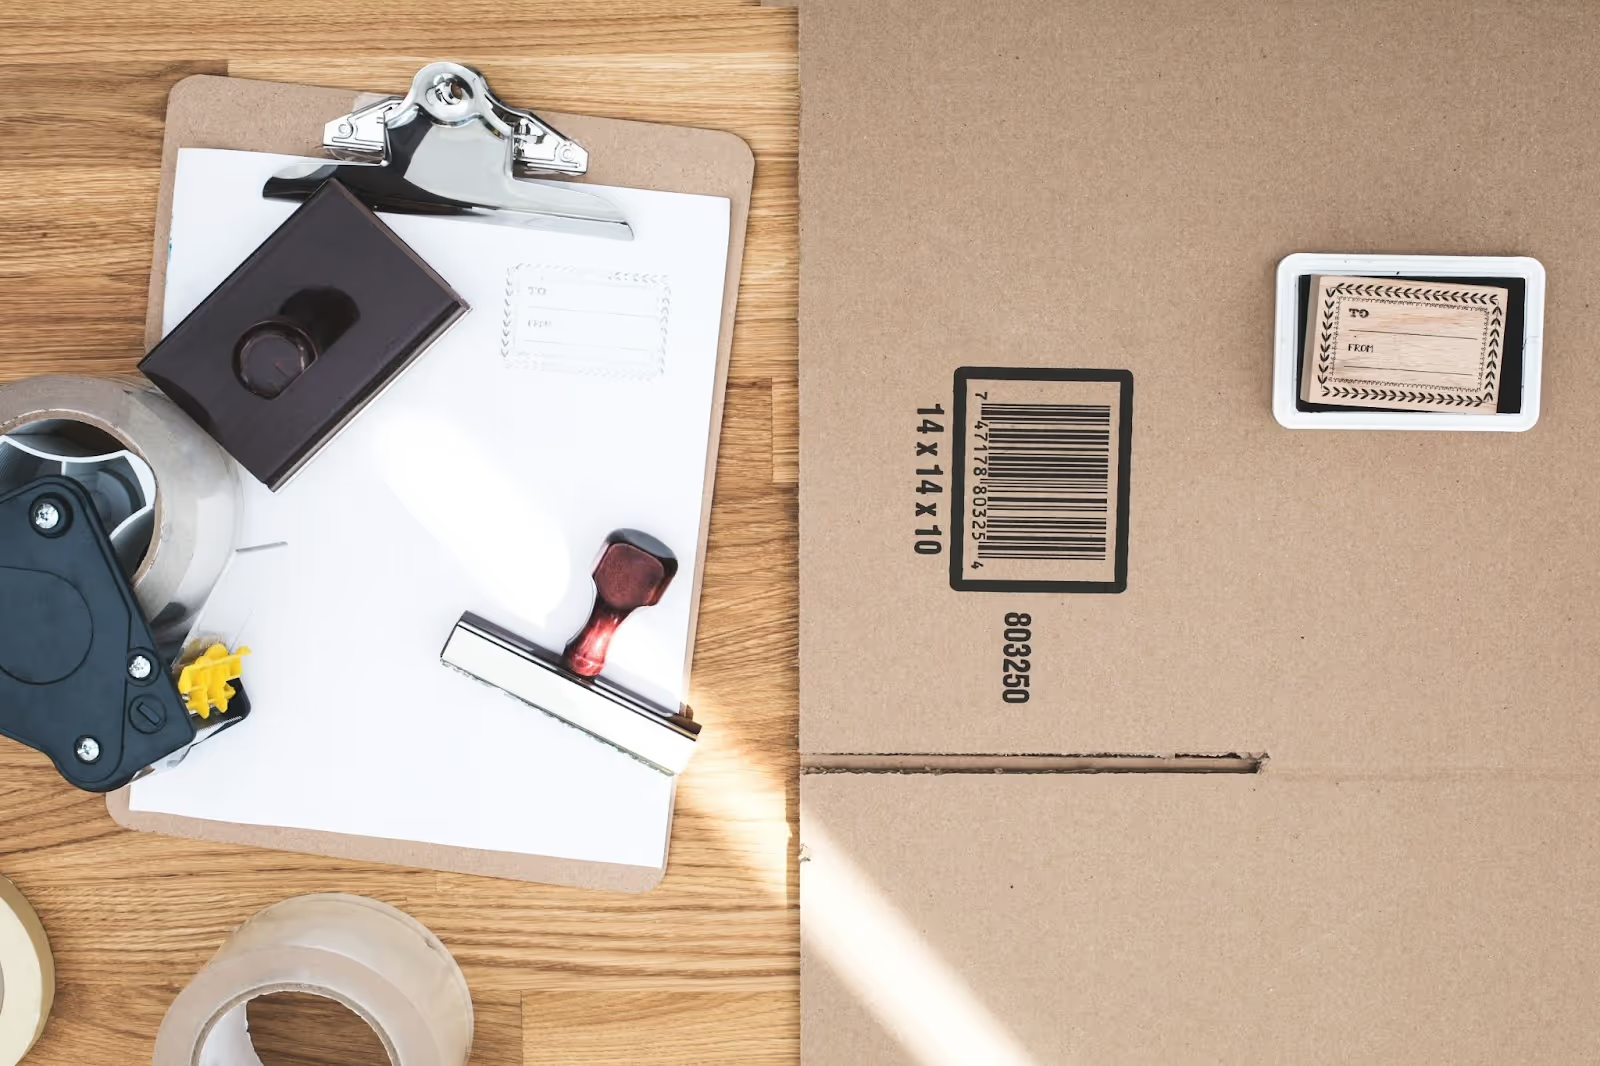
- Stamps and Stencils — Create simple patterns or logos.
- Handwritten Notes — Personalize with handwritten messages or thank you notes.
- Water-Activated Tape — Use water-activated tape to seal your boxes, add pops of color, and create borders or accents.
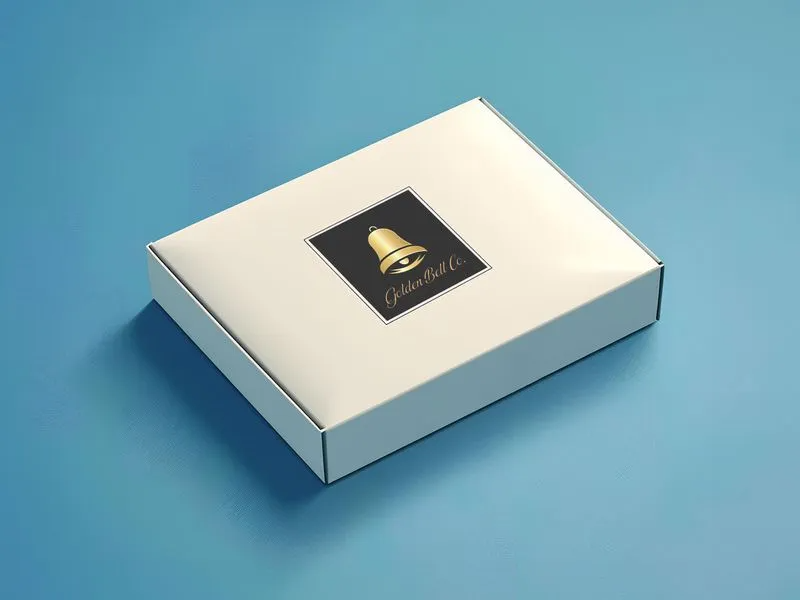
- Stickers & Labels — Apply pre-made stickers to insert branding elements or messages.
Creative Solutions
- Natural Elements — Use dried flowers, leaves, or twine to achieve an organic look.
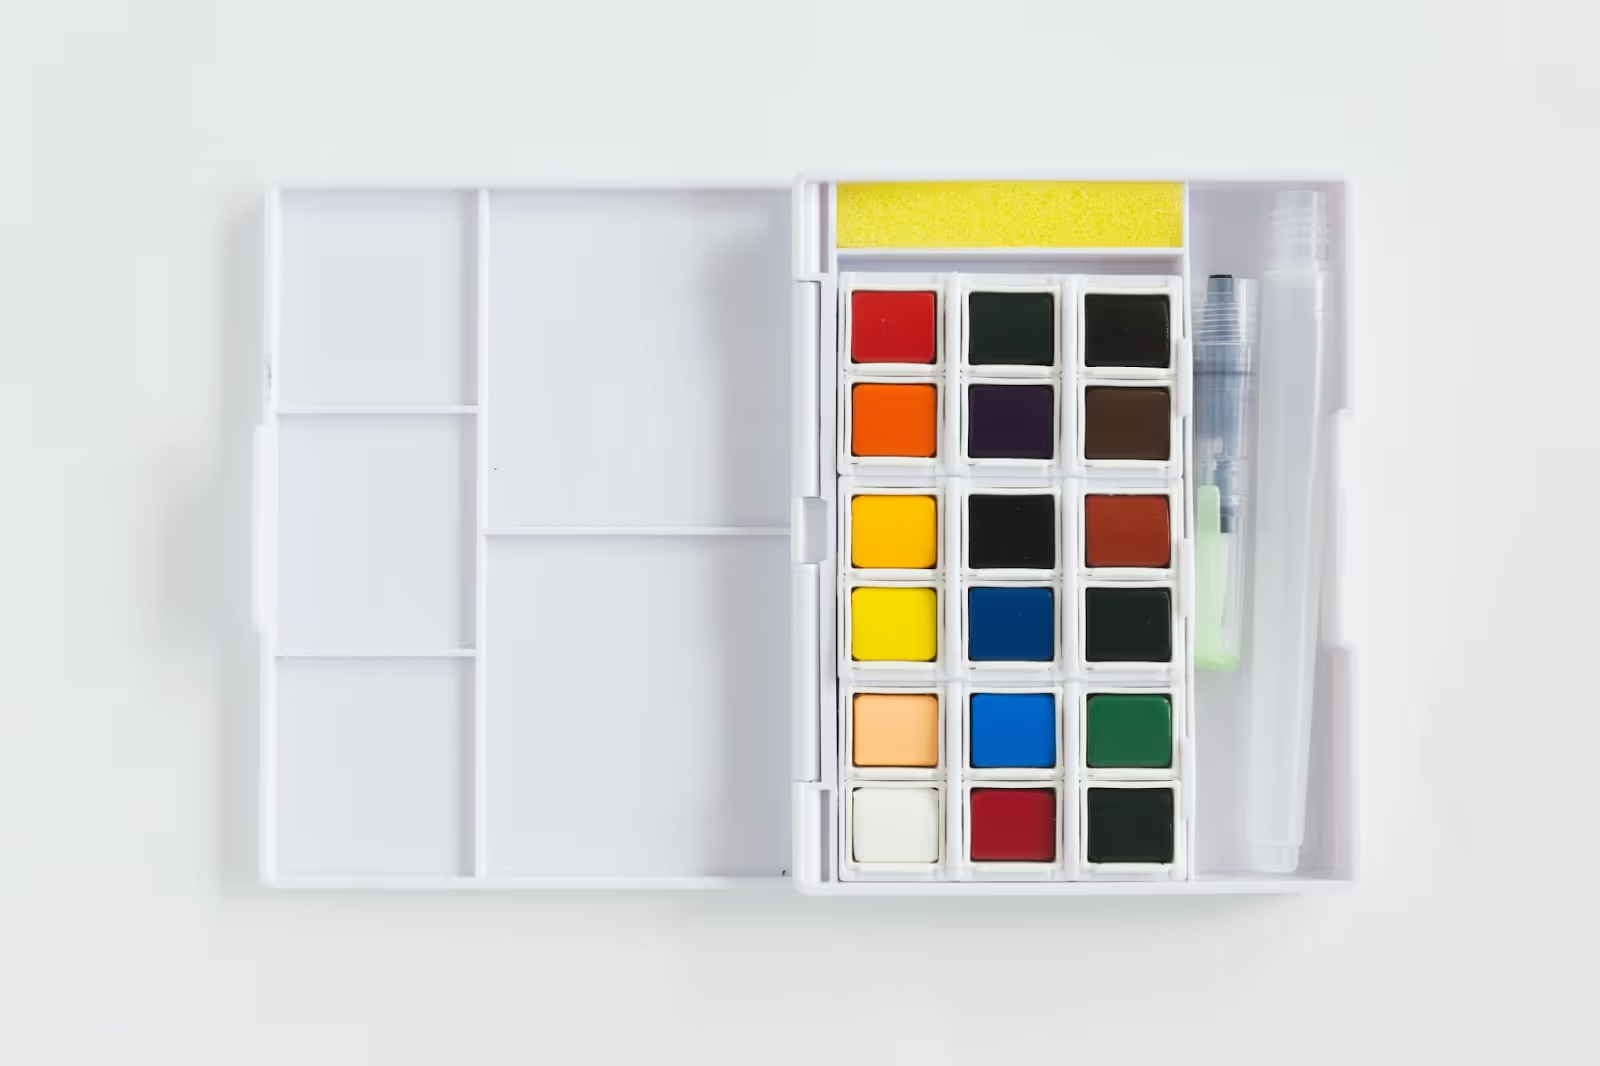
- Paint & Markers — Hand-paint designs or messages for a personal touch.
- Fabric Scraps — Wrap boxes with fabric scraps for a textured and unique look.
- Upcycled Materials — Utilize buttons, ribbons, or leftover fabric for embellishments.
Tips for Success
If you're decorating your blank boxes yourself, you'll want to keep these tips in mind.
- Less is More — While unleashing your creativity is encouraged, avoid overloading the box with too many decorative elements. Stick to a few key elements that complement each other to create a balanced and visually appealing design.
- Alignment and Spacing — Pay attention to how your decorations or artwork are positioned on the box. Centering elements, maintaining consistent spacing between them, and keeping the design balanced all contribute to a professional finish.
- Color Harmony — Limit your color palette to 2-3 colors that complement each other. This creates a cohesive look and avoids a visually jarring effect. Consider using your brand's primary colors or a neutral base with pops of color for accents.
- Font Consistency— Be consistent when adding text elements like handwritten notes or stamped messages. Stick to one or two fonts that are easy to read and align with your brand image.
- Test and Refine — Don't be afraid to experiment! Create test boxes with different layouts and decorations before committing to a final design. Get feedback from friends, family, or even potential customers to see what resonates with them.
By following these tips, you can ensure your DIY decorations elevate your blank boxes to a professional level.
Conclusion
This article was your peek behind the curtain of DIY box decorating! We shared some fun ideas and handy tips to help you turn those plain boxes into packaging that screams "you." So, channel your inner artist, grab your favorite crafting stuff, and get ready to transform those blank boxes into brand champions!
We at PackM are itching to see what you create! If you ever decide to level up to custom-printed boxes, we're here to cheer you on every step of the way.
Head over to our website today to check out both blank and custom options, and let's get your brand shining bright! You can call +1 (424) 271-0700 or chat with one of our sales representatives.
We're also available via email at hello@packm.com